How to Make a Rain Poncho
- By Jen
- Beginner
- 1 hour
Rain ponchos are great to have to help protect your hair and clothing from the rain. The one I’m going to make is a short poncho with a hood. Nylon is the best to use because it’s lightweight and waterproof. You can also use a lightweight clear plastic or even an old shower curtain.
Want to get the printable PDF instructions?

Materials
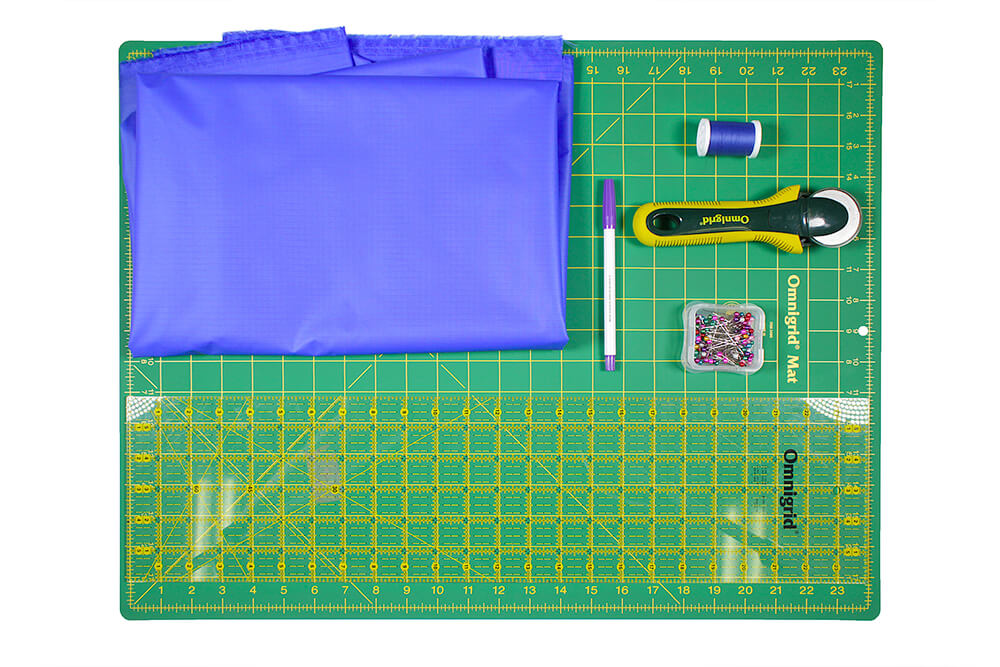
Related Products


Video
Instructions
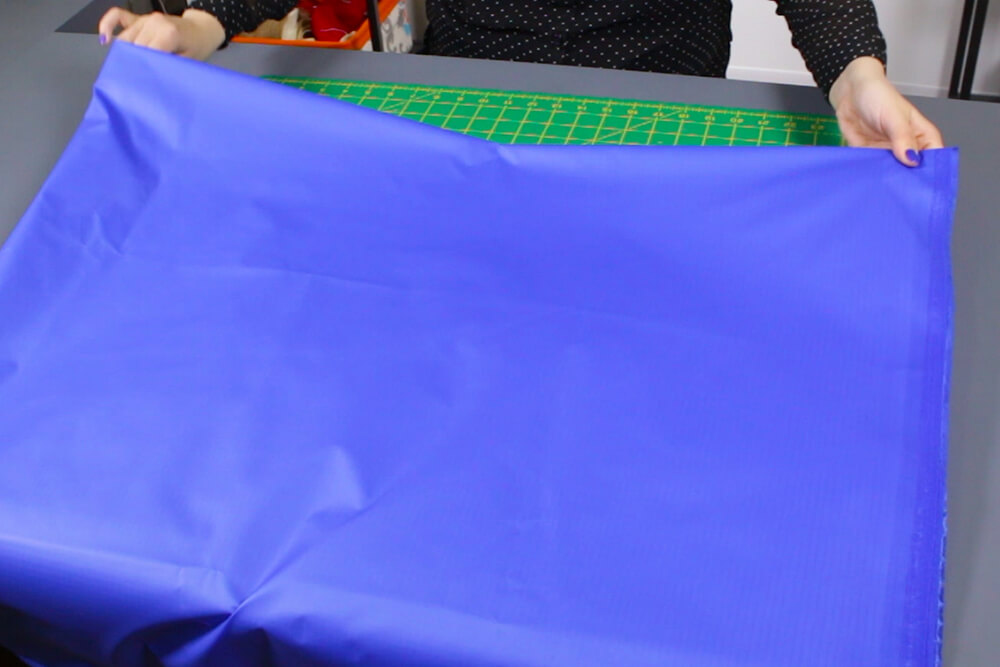
Step 1: Cut & sew the poncho
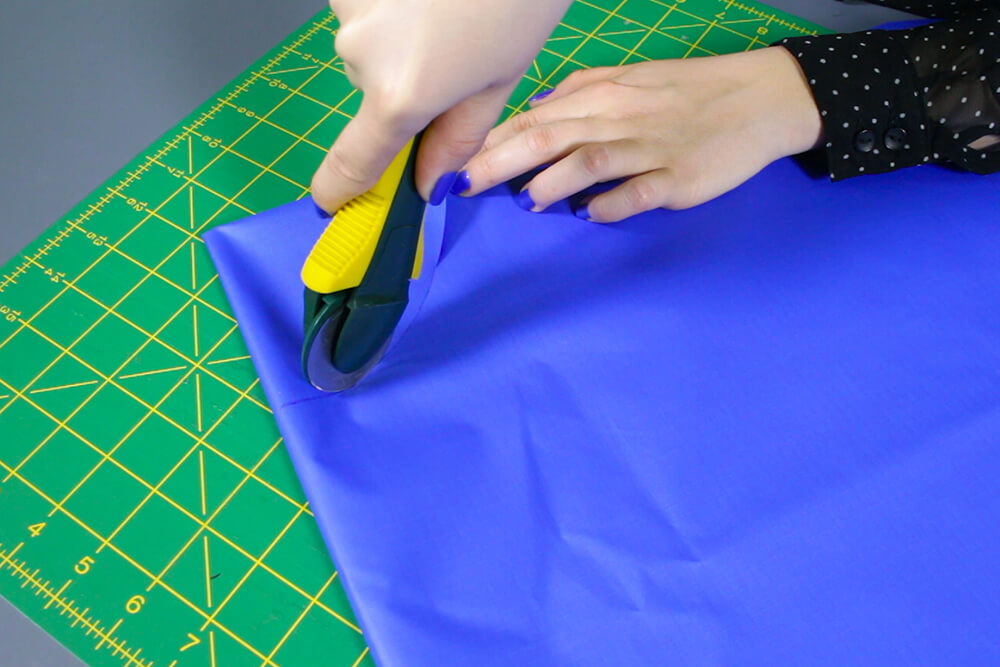
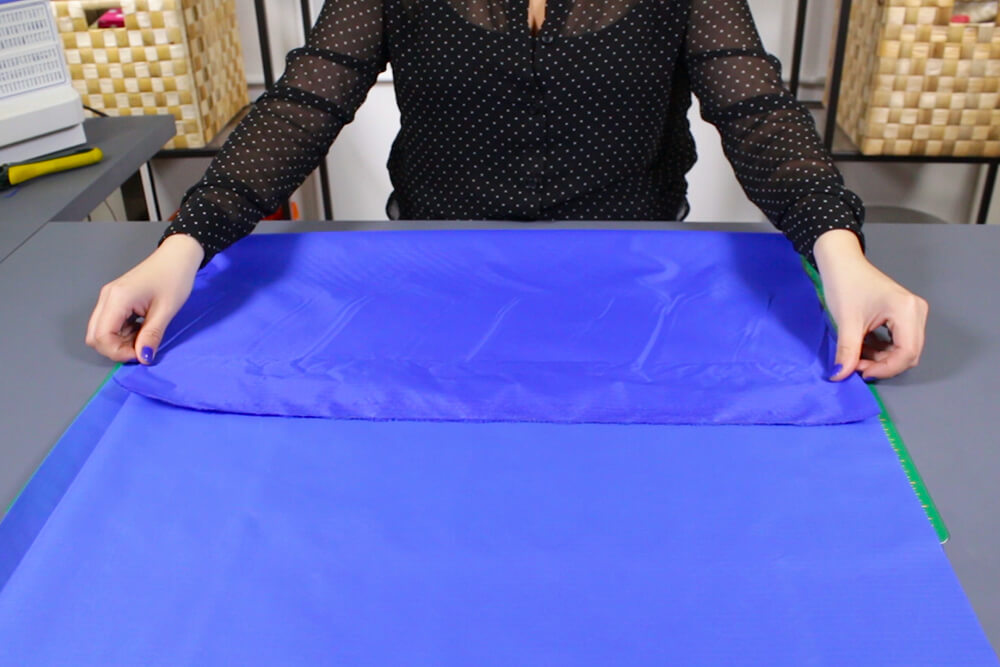
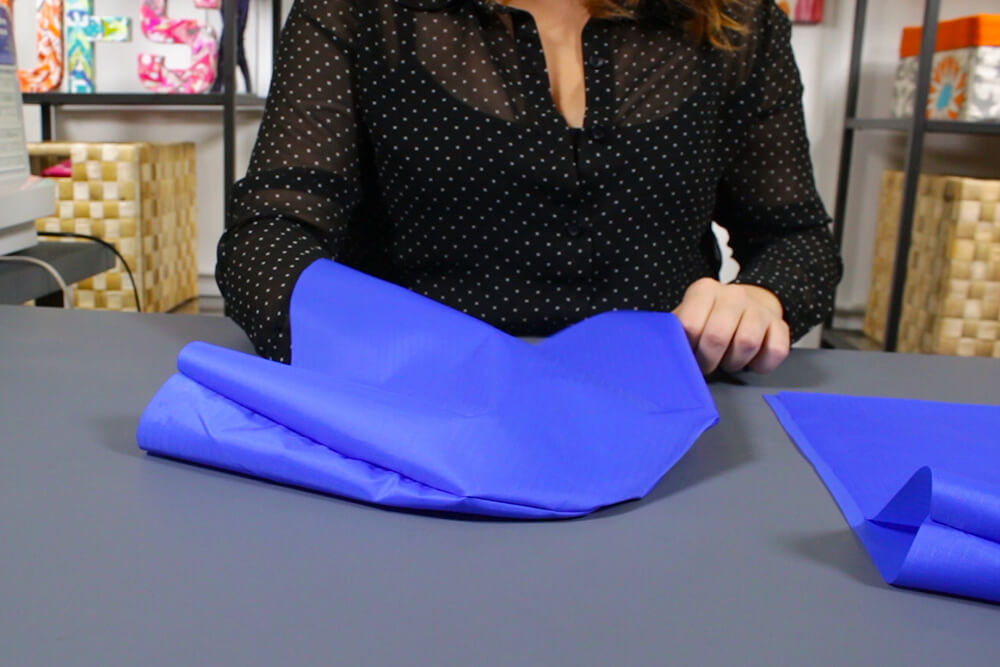
First, fold the nylon in half. Then fold it in half again making a rectangle. From the folded corner, measure down 4 inches on each side using the ruler and mark. Measure out 4 inches to the center and mark. Connect the markings to make a quarter circle.
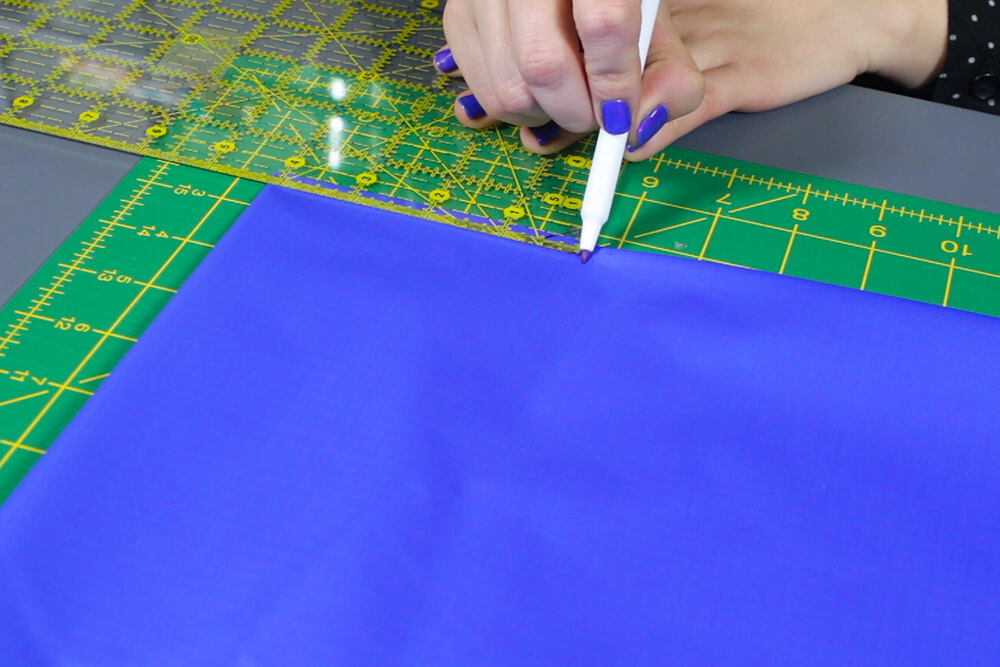
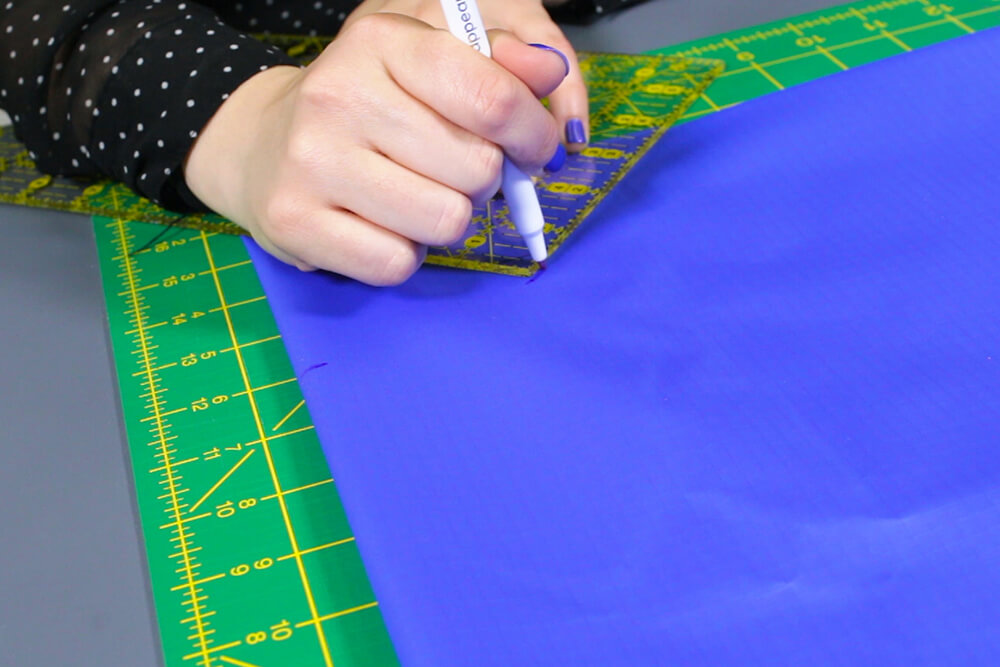

From the shorter side, measure down 26 inches and mark. From the longer side, measure down 30 inches and mark. From the middle of the neckline, measure down 28 inches to the center and mark.
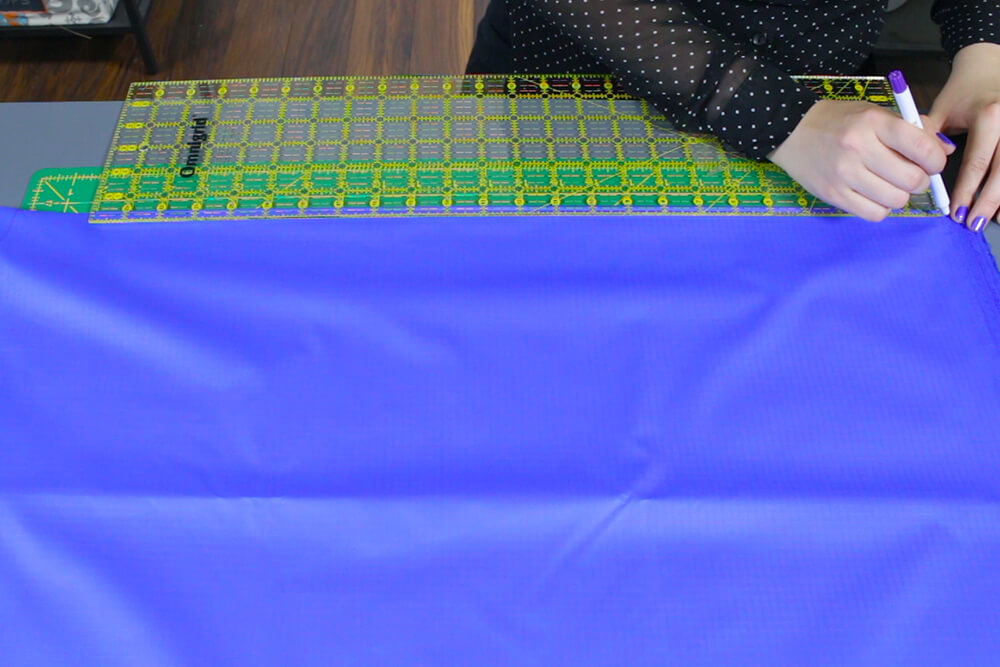
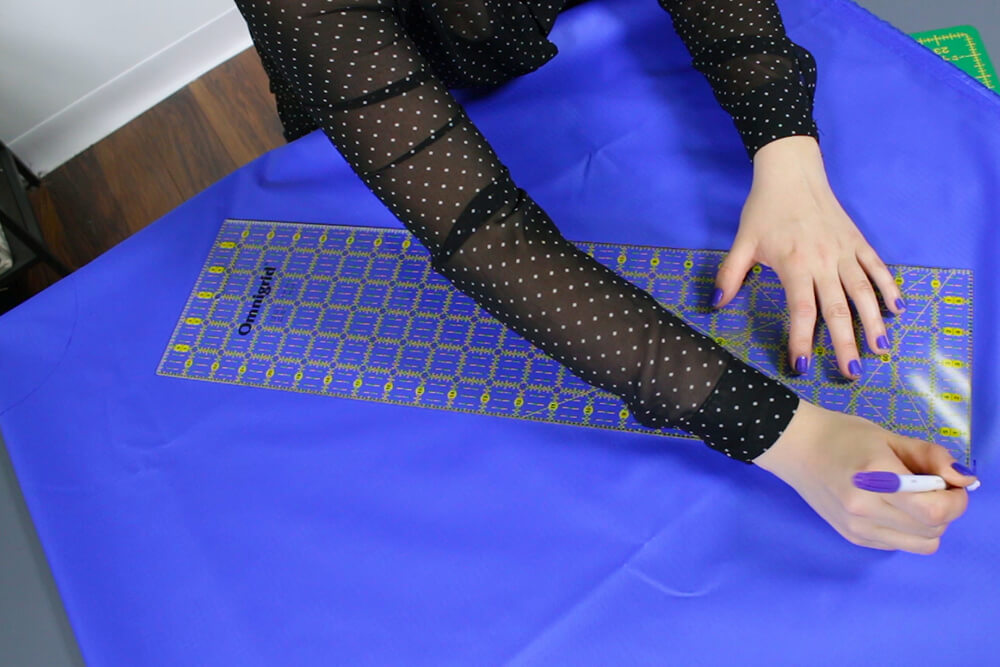
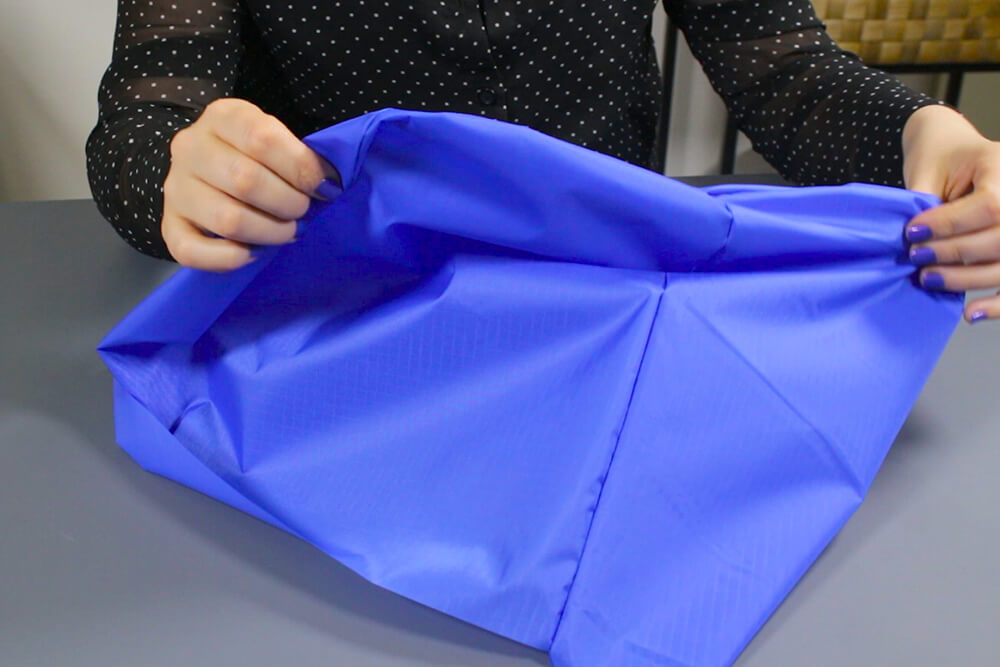
Halfway between the shorter side and the center, measure and mark 26 inches down from the neckline. Halfway between the longer side and the center, measure and mark 30 inches down from the neckline.
Connect the marks, making a quarter circle from side to side.


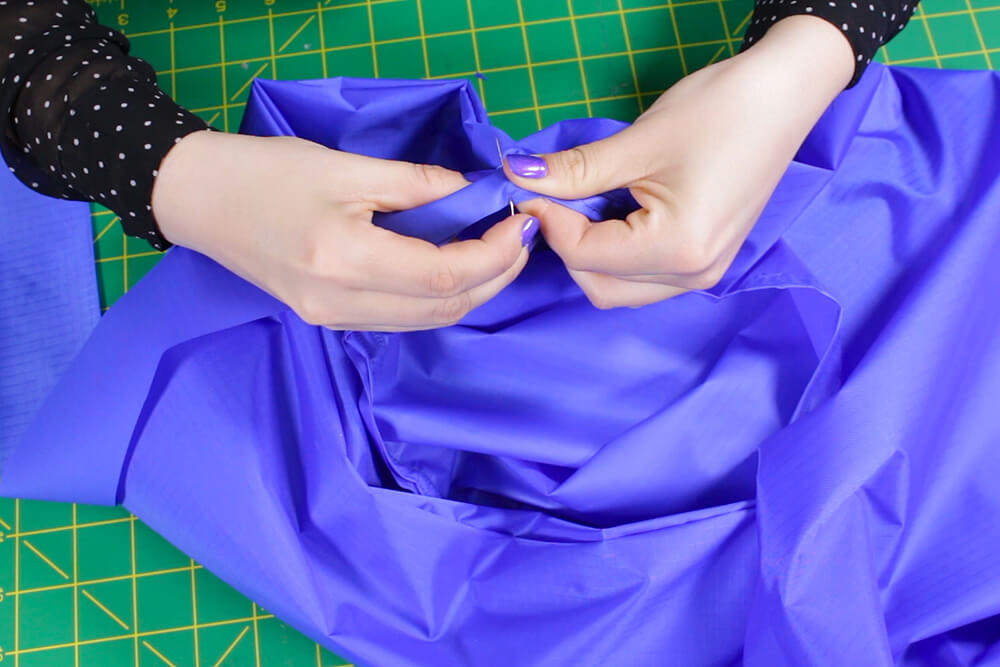
Cut out the neckline and hem using the rotary cutter. Unfold the poncho and make 1/2 inch slits around the neckline.


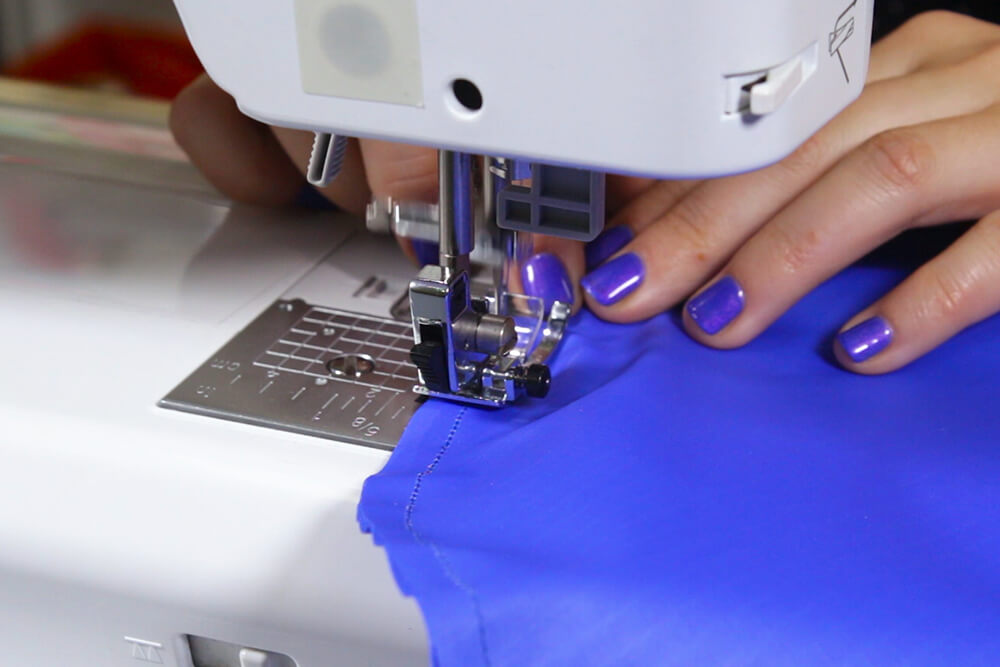
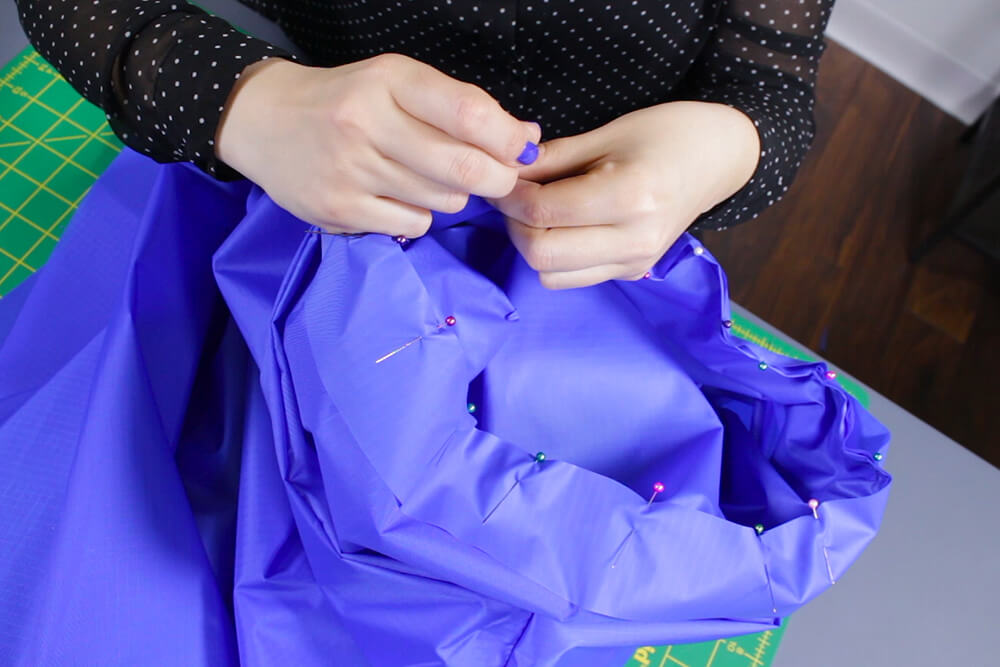
Fold the edge over 1/2 an inch and pin. Stitch with a 1/2 inch seam allowance around the neckline. Back stitch at the beginning and the end and fold to the right side.


Step 2: Cut & sew the hood
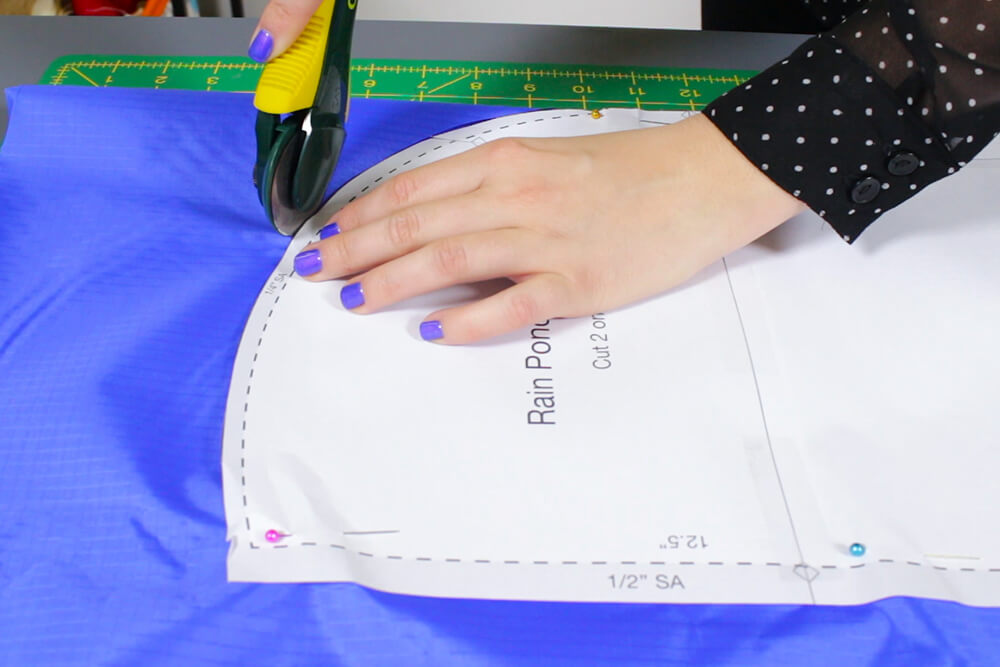
Fold the fabric over just enough to fit the pattern piece. Place the hood pattern to the fold line where it says “on fold”. Pin around the pattern and cut. Repeat this once more to get 2 hood pieces.


Remove the pins and fold both pieces to the wrong side. With the hood folded in half, stitch with a 1/4 inch seam allowance from the top of the hood to the top of the folded side. Do this for both hood pieces and fold both pieces to the right side.


Take the front part of each hood piece and pin the right sides together. Stitch with a 1/2 inch seam allowance and fold one hood piece to the inside of the other hood piece. This creates a lining for the hood.


Step 3: Attach the hood to the poncho
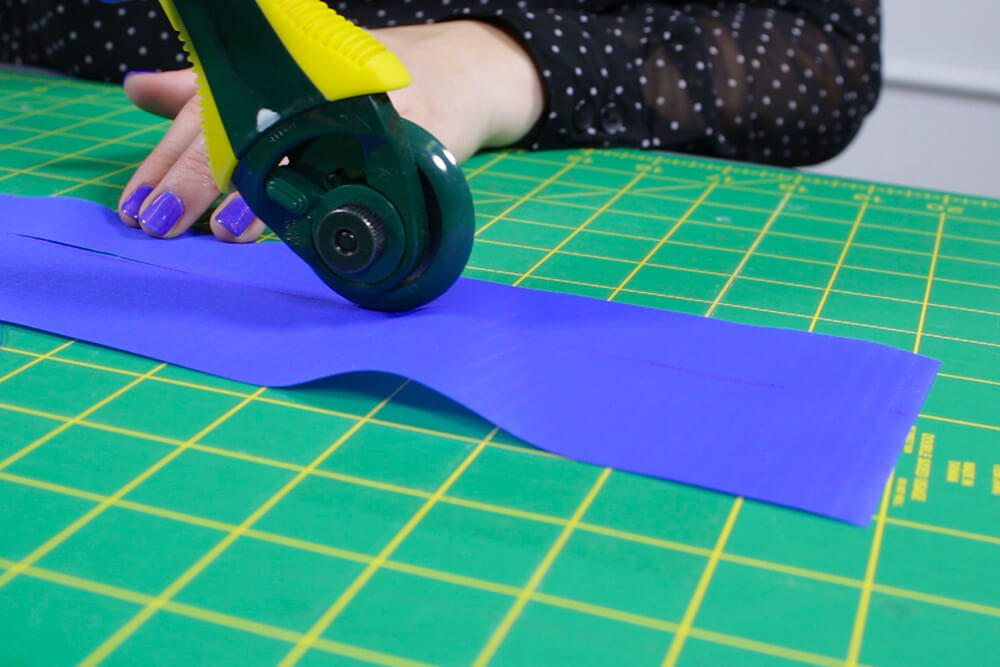
With the leftover fabric, measure and cut a 2 inch by 32 inch strip. Make sure the poncho is spread out and the longest point is centered in the middle. With the right sides facing each other, pin the bottom of the hood to the neckline and stitch with a 1/2 inch seam allowance.


Starting at the corner of the hood, pin the right side of the strip along the neckline. Starting a 1/2 inch in and leaving a 1/2 inch open at the end, stitch with a 1/2 inch seam allowance.

Pin the open ends together and stitch with a 1/2″ seam allowance.


Fold the edge over twice and pin to the inside. Stitch with a 1/2 inch seam allowance and the rain poncho is complete.


Need to prepare for some rainy weather? Check out our selection of nylon fabric!